Ladybug Pot
More Information
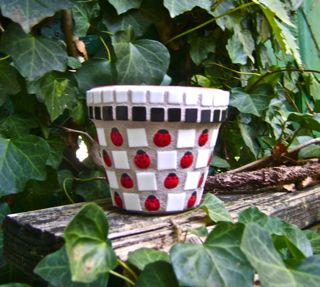
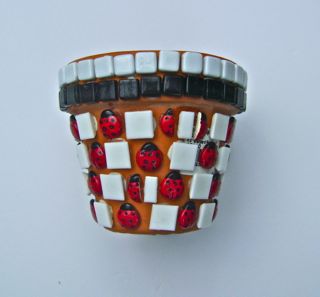
You can make this adorable ladybug checkerboard pot!
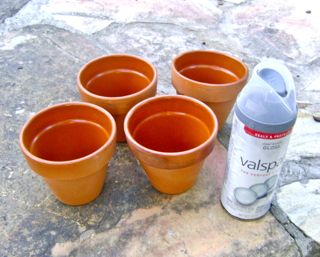
This mosaic pot was easy to create, and the checkerboard design would be great using other small tiles in place of the ladybugs. The first thing you need for this mosaic project is a small pot from the garden center. The pot I used for this project is 4” high & 4” diameter (inside top).
At Barb’s Cottage, we like to spray the inside of the pots we use with clear coat before beginning to glue. This protects the pot from any silicone or other adhesive that might get on the inside, which is impossible to remove.
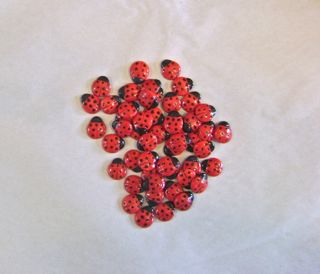
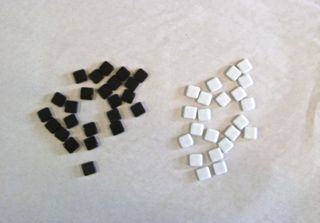
You also need 3 kinds of tiles. We make ceramic ladybug tiles here at Barb’s Cottage and you will often find them listed at our Etsy shop. For the 4×4″ pot, I needed 32 ladybugs.
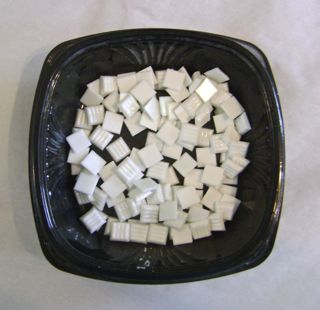
The white tiles in the design are ½” tiles from WitsEnd .
The border tiles are recycled 3/8” glass tiles that we get from Mosaic Art Supply:
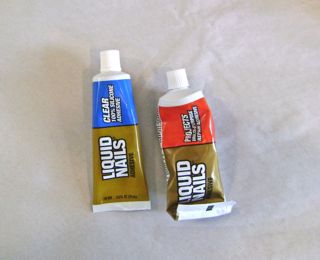
You will also need adhesive for gluing the tiles. We use silicone for gluing the ladybugs because they are thin tiles, and you will want them to be level with the white tiles. We sometimes use Liquid Nails to glue the white tiles; however, you could use thin set for gluing all the tiles. Whatever you find easy to work with is fine as long as it is waterproof.
With the pot sitting on a towel that has been folded at one end to level it, I glue one section at a time, starting at the bottom of the pot. gluing ladybugs and ½” white tiles in a checkerboard pattern in the section of the pot that shows. For this pot, it took 5 tiles – 3 white tiles & 2 ladybugs – for the bottom row. As I move up the pot toward the border, I adjust the spaces between the tiles as needed.
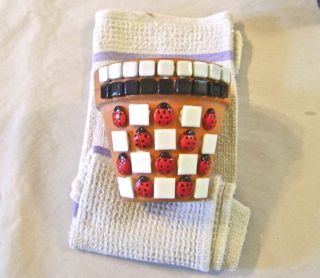
I then glue the border tiles at the top for the first section. I thought about repeating the checkerboard design on the border, but decided that “too much of a good thing” might apply here.
I then had to tear myself away from the project so the adhesive could set a bit – at least 1 hour. You cannot rush this process! If you do, you will displace tiles you have already placed. Be patient. Take a walk. At the end of about an hour, rotate the pot and repeat the process on the next section.
Before too long, I was close to the tiles I had glued first. There was a slim chance that the tiles I was ready to glue would match up perfectly with the ones I glued first, and I was right: my pattern was off.
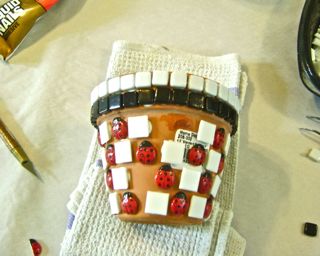
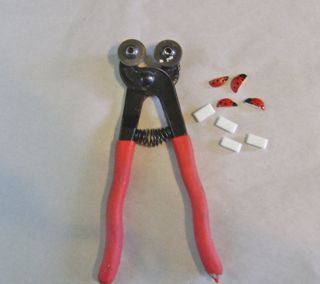
The solution is to cut a few ladybugs and white tiles in half using wheeled nippers, and finish out the design with them, which is what I did.
Oh well, every pot has a back, and we know where that is on this pot!
Once the pot is completely glued, you should wait 24 hours before grouting. Again, do not rush the process. For excellent results, the adhesives you use must be allowed to cure before grouting.
This adorable ladybug pot is a favorite at Barb’s Cottage! If you want a ladybug pot but do not have the time to make one, contact Barb at 512-396-1727 and I’ll be happy to make one for you.